
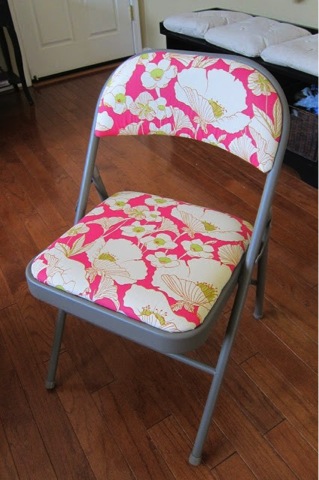
This was my latest makeover project: upholstered metal folding chairs.
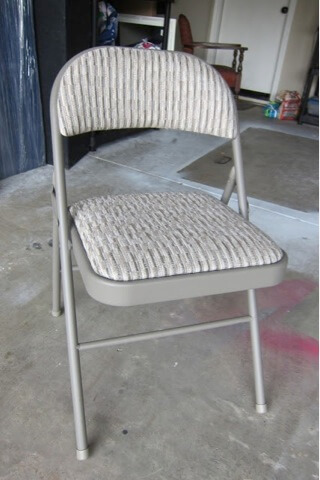
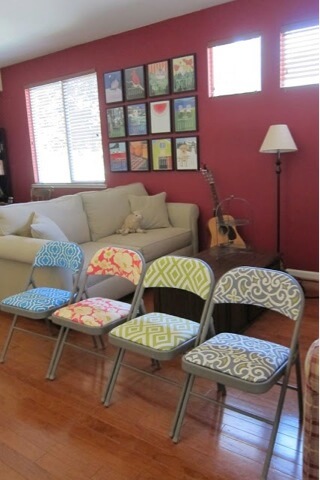
Pretty nice upgrade, wouldn’t you say? But what is even more interesting, I think, is the behind-the-scenes footage of this saga. Because the reality is, behind every pretty picture of a craft I’ve completed is a slew of headaches and frustrations that are lost to the public eye as soon as I post a polished “after” photo.
This is the truth of crafting that Pinterest will not tell you.
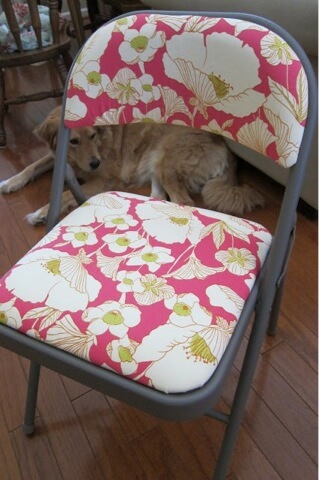
Every tutorial I had encountered proclaimed how easy this project was, and you know, after the first chair, the rest really were simple. But that first chair . . . I can’t look at that pink chair without a slight grimace. Here is what I had to learn the hard way:
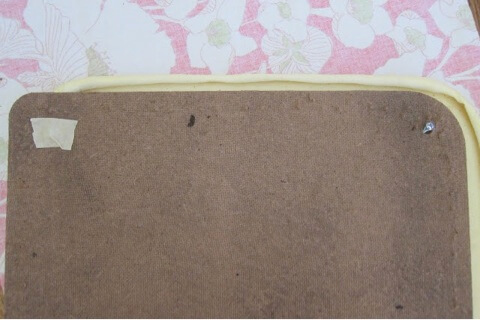
- You need short staples (1/4″) to attach your new fabric, otherwise your staples will go through the top panel.
- A thick home decorating fabric is best, which will save you the trouble of having to remove the chair’s original fabric if the print shows through.
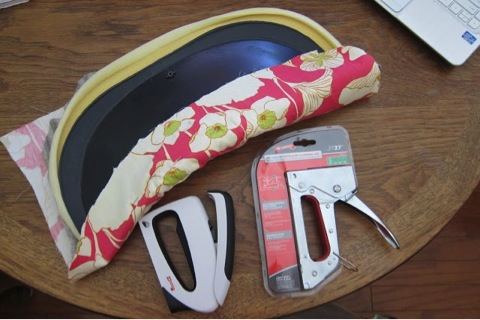
- Use a heavy duty staple gun. Don’t go for the prettier, lighter one advertised to be easier on your hands (EVEN if the packaging has on it a picture of a man stapling together a wooden birdhouse). Otherwise, you will end up with two staple guns and have spent $23 instead of $9, when the prettier, easy-on-the-hands one refuses to puncture anything. What worked was the Arrow JT27.
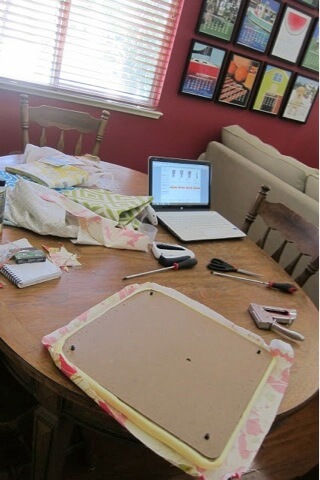
- When purchasing anything, double check that you have the right items and that they are in working order, like, say, that your spray adhesive is not missing a nozzle. Otherwise, you will make the untimely discovery the next time you craft (i.e. when the baby is napping), and therefore you will be home-bound, unable to move on with your project, and left with nothing else to do but twiddle your thumbs. Talk about a momentum-buster.
- Speaking of spray adhesive, don’t use it indoors at your dining table. This seems like common sense, and apparently, I don’t have any. If you, too, lack common sense, you will get spray adhesive all over your table, computer, phone, and anything else that’s lying within a 2-foot radius of your target.
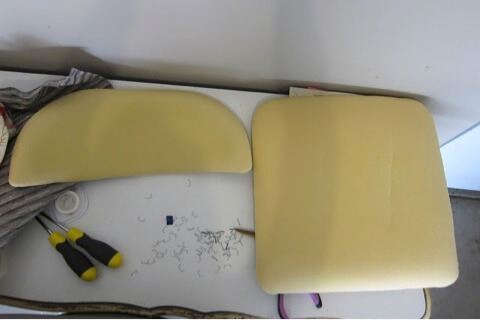
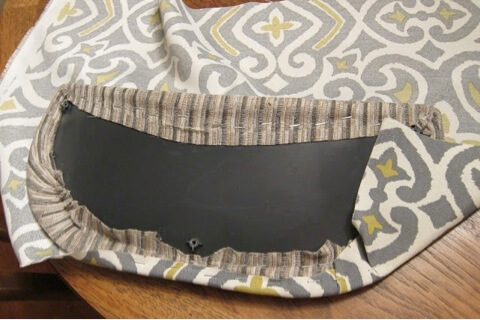
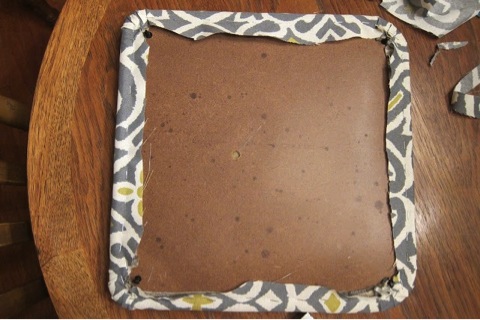
- The bottom panel that you sit on may not be a uniform square. Lay your fabric on to check if it lines up correctly BEFORE you staple . . . otherwise, you may encounter this:
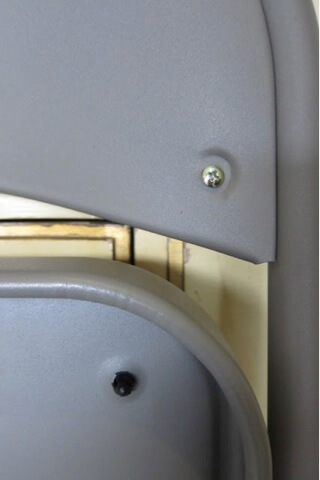
- If you have chairs with these plastic push-in rivets on the bottom, as opposed to metal screws, curse the chair-making powers that be, but DON’T try to cut them off with scissors. It is an ineffective method that will eat up your time and your hands.
Okay, now that I’ve sufficiently aired my frustrations and scared you from attempting this project, let me assure you that it really is fairly simple. 😉 Though, if you’re anything like me, you, too, must learn the hard way. What doesn’t kill you makes you stronger, right? Yes, I believe that can be applied to crafting.
How to Reupholster Your Folding Chair
Materials:
- folding chair
- heavy home decorating fabric (about 1/2-yard)
- spray adhesive (optional, but it helps)
- heavy(ier) duty staple gun
- 1/4-inch staples
- screwdriver
Additional materials you may need:
- hammer or metal mallet
- #10-32 x 1/2″ round head machine screws with bolts
- E6000 glue
1. Unscrew the top and bottom panels. Or, if you are unfortunate like me, your chair panels are attached by plastic push-in rivets. Use a hammer to pound them out. If the rivets are not too shredded, you can simply reinsert the panel at the end. If, though, they are not reusable, or if you want a sturdier attachment, you can replace the rivets with screws.
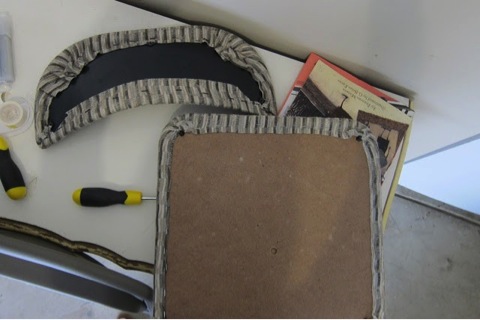
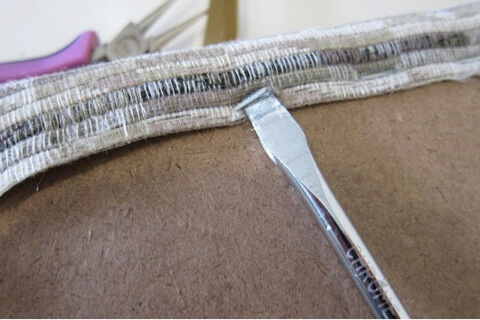
2. Hopefully, your new fabric is thick and not see-through, so you can simply lay it on top of the original fabric. Otherwise, remove the original fabric by using a screwdriver to lift the staples. (Do this also if you want to replace rivets with screws.)
3. If you are replacing the plastic rivets with screws, pull the cushion apart from the backing and remove rivets and reinsert screws. Use masking tape to keep screws in place before flipping the board back over so that the screws are pointed outwards.
4. Laying the panels on top of your new (and ironed) fabric, cut out pieces with about 1-1/2 to 2 inches extra on each side. Be aware of which sides are the front and back of your panel, and align your fabric accordingly. Use spray adhesive (outside!) to secure fabric, and then start stapling, alternating sides and pulling taut the fabric as you go.

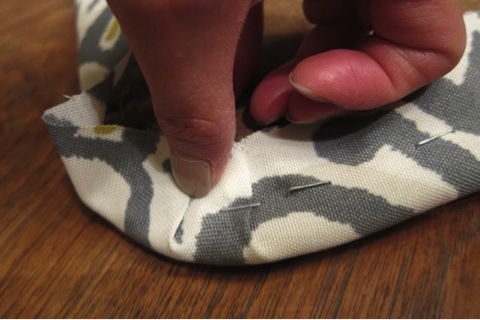
5. When you get to the corners, pleat the fabric before stapling, working around each curve.
6. Cut away excess fabric. Realign your panels to the chair, and screw back into place, attaching bolts where necessary. If you kept the old push-in rivets, simply snap the seat panel back in position. You can also use the E6000 glue, which is an easy, but permanent, solution.

And that’s it! Enjoy your chair!
Easy, right? I guess you’ll have to find out.
As for Lucy, she’s pretty happy-go-lucky, even when her chairs don’t turn out. No sweat. Maybe I should take a page from her book.

Cici, this is an awesome write up! Awesome job documenting the whole thing! I’m super impressed!!
When it is time to change oil, stop a moment before you pick the most
expensive diesel car oil or cheap car oil.
After you have connected the hoses, turn your engine back on and
see if that was the cause of the engine vibration noise.
An American classic, the Corvette has always been a supercar boiled
down to its raw form.